We try our best to correctly identify all wildflowers on this site.
If you find that some species have been misidentified, or would just like to comment on the site, please let us know via email.
3D Photos of the Sierras
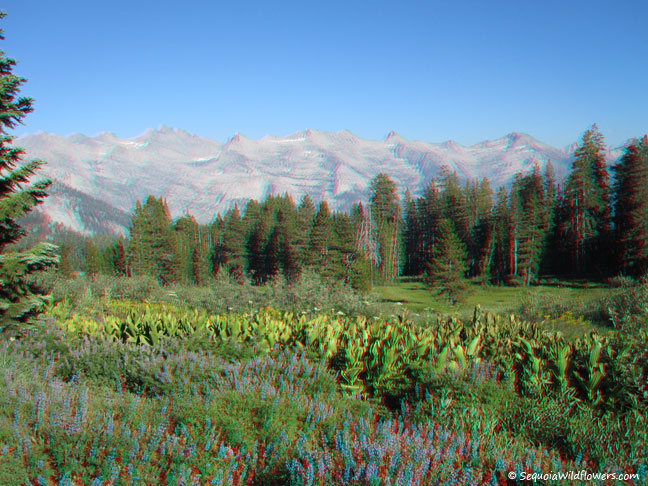
We became interested in 3D photography after seeing the improvement in quality of modern 3D movies (this was happening well before Avatar; there have been top notch 3D IMAX and studio films since the late 1990s!) We wondered if having the ability to record 3D still photos would provide more vibrant memories and better capture the richness of places like the Sierras.
3D images are formed when a scene is viewed from two different locations. This parallax displays objects from two slightly different angles, and our brains are able to use this information to judge distance. We get these two perspectives with our two eyes, about 6 cm apart. If you close one eye, you will see the world as a standard photograph, as if the image were seen through a single camera lens.
Modern compact digital cameras can be 9 cm wide or less, allowing us to place two cameras side by side with a distance between the lenses similar to that between our eyes. After looking in vain for off-the-shelf products, we decided to build our own. We wanted something portable (no tripods), compact and of course able to take quality images.
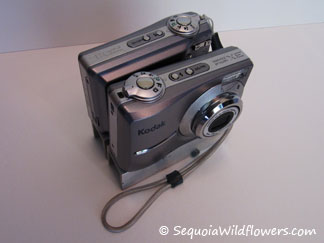
For our first attempt, we got a couple of cheap, used Kodak C813’s. Ideally, we wanted to rewire the electronics so that a single shutter button would trigger both cameras simultaneously. After disassembling one camera, it was apparent that the electronics were so tightly packed this was not going to be possible for us.
Plan “B” was to just use all the same settings on both cameras and try to press both shutter buttons at the same time. This provided some limitations to how we could use the camera. We could not use a flash, because inevitably, one image would be extra bright and the other extra dark (your finger is not faster than a camera flash!) Subjects of photos were also limited to fairly static elements; moving people, animals, even rushing water would be captured far enough apart that a 3D photo would not look right. Nevertheless, many of the 3D photos on this site were taken with this setup.
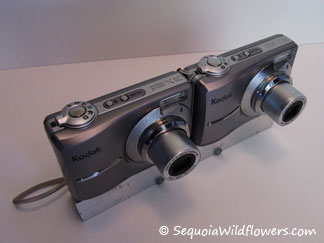
Using parts from the local hardware store, we mounted the cameras on a frame that would keep the cameras straight when taking photos, and fold in half when not in use. We used a spring-loaded system that would lock the cameras either straight or folded, but not in between, much like some kitchen cabinets.
Once you have two images, you need to process them together somehow for 3D viewing. There are many ways of doing this, including:
- You can view the two images through a viewer that presents only one image to each eye, much like View Master toys.
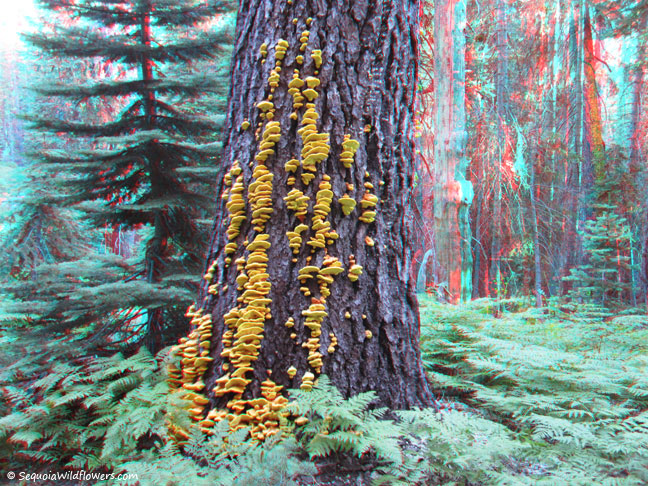
- You can create anaglyph images, where the right and left images are colored differently, then viewed through colored glasses that present only one image to each eye. Different color combinations can be used, but the standard has been red/blue (cyan) for decades. The main drawback to this method is it introduces some color distortion to the image.
- The same concept can be used with polarized images and glasses with polarized filters, so that again, only one image is presented to each eye. This introduces a neutral gray tone to the overall image and leaves color intact. However, it requires two polarized projectors to display the images and glasses that are not as readily available. This is the method used in most movie theaters.
- New technology is coming out that uses glasses that flicker quickly in sync with a television or other display, displaying one image at a time to each eye. This will eliminate the need for projectors, but for now, both the glasses and displays are rare and expensive.
We chose to create red/cyan anaglyph images, since they can be displayed on any television or computer monitor, and the glasses are readily available. For a couple of dollars or less, anyone can get the glasses necessary to view these images, and there is a ton of content compatible with this format on the web.
We process the images using Photoshop CS2. Step by step instructions follow on how to create a red/cyan anaglyph image; of course, you may need to adjust steps according to your version or software. You may also want to write a macro to help with the processing. This has helped cut the processing time down to seconds per image for us.
How to Create Red/Cyan 3D Anaglyph Images Using Photoshop
- Obtain appropriate left and right photos from a 3D camera or other setup
- Open left and right photos in Photoshop
- Select All of left photo
- Switch to Move Tool and drag left photo into right photo
- Center the two photos; left photo is now Layer 1, right photo is Background
- Create a new layer (Layer 2) and set mode to Screen
- Set color to R = 255, G = 0, B = 0
- Select all of Layer 2 and Fill; visible photo will tint red
- In the Layers Palette (Window => Layers), drag Layer 2 between Background and Layer 1; the red tint will no longer be visible
- Make a new layer (Layer 3), set mode to Screen and drag to top of list in Layers Palette ; Layers will now be in the following order: Layer 3, Layer 1, Layer 2, Background
- Set color to R = 0, G = 255, B = 255
- Select All of Layer 3 and Fill; image will tint cyan
- In Layers Palette, hide Background and Layer 2
- Layers => Merge Visible
- Set current layer mode to Multiply
- In Layers Palette, unhide Background and Layer 2
- View with red/cyan glasses
- If necessary, select Move Tool and drag Layer 3 around until 3D image is optimized
After using the Kodak C813’s for a while, we found that we were spending far too much time on the final step. The hinge was loose, the hardware did not fit well, the frame was too large and the cameras were inferior.
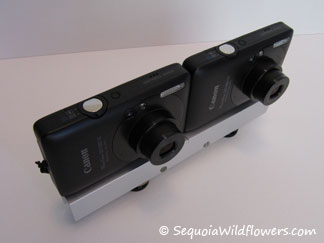
We decided to build a new one with two Canon SD780 IS’s and a better, more compact frame. These cameras are so small, it’s hard to believe they are also so versatile and take such great pictures. The hinge is now rock solid, all the bolts are countersunk, and the cameras are mounted with thumbscrews, so they may be adjusted easily at any time. We now find that adjustment of the images during processing is often minimal or unnecessary. We have also taken photos of moving objects like waterfalls, and even used the flash!
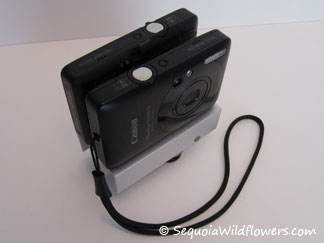
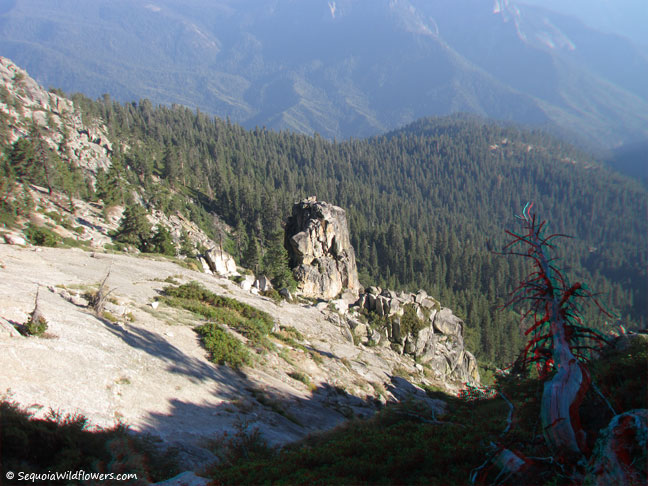
These cameras are so much more versatile and consistent than the Kodaks, that many of the constraints that limited us before have faded away.One challenge that remains is that 3D photos are best when subjects are between about 5 feet and 100 feet away. If the subject is too close, you end up cross-eyed, if it is too far away, the image is flat. We suspect this can be helped by changing the angle between the cameras, but that requires more testing.

 Sequoia Gallery
 Yellowstone Gallery
 Kittens Gallery